
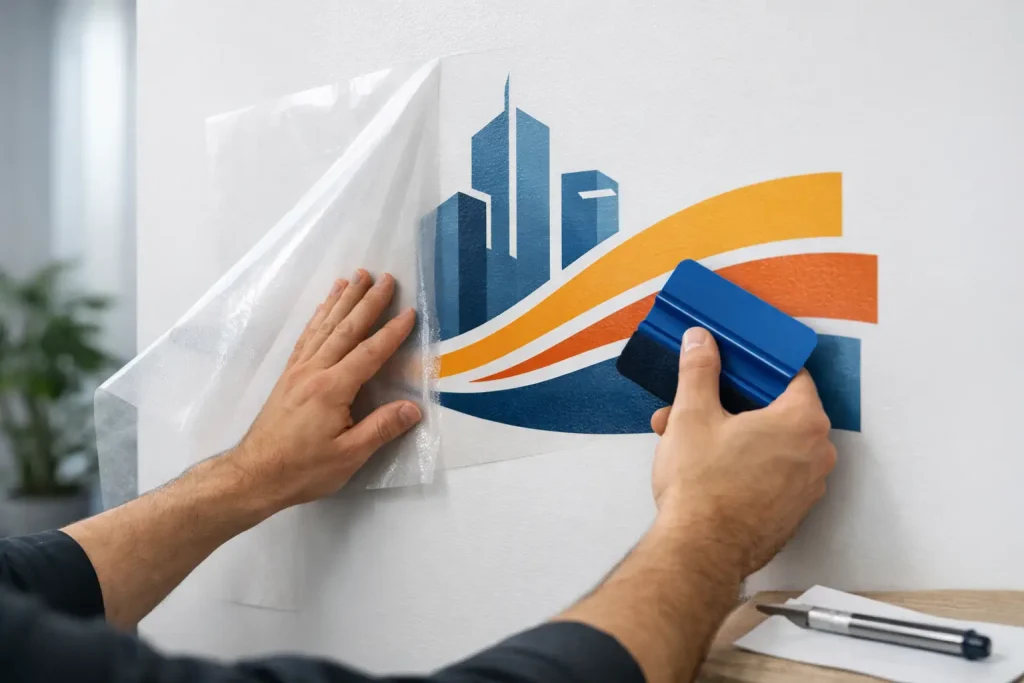
Fresh paint can be the hidden reason a wall graphic fails by Friday. The print looks right, the panel is square, the surface seems smooth, then the adhesive starts lifting because the wall was not ready – or the media was not right for the substrate. If you need to know how to apply graphics on painted walls properly, the real job starts before the first panel touches the surface.
Painted walls vary far more than most people expect. A newly decorated office corridor, a hospitality feature wall, a retail fit-out and a museum display space can all look similar from a distance, but perform very differently once graphics are installed. Paint type, curing time, surface energy, texture level, cleaning residues and ambient conditions all affect adhesion. That is why wall graphics should be treated as a substrate-led application, not just a print-and-stick exercise.
How to apply graphics on painted walls without failure
The first question is not how quickly the job can go up. It is whether the paint is actually ready to accept a self-adhesive graphic. Freshly painted walls need time to cure fully, not just dry to the touch. If moisture and solvents are still escaping, even a high-quality graphic may struggle to bond consistently. For professional installers and print providers, this matters because most failures blamed on the graphic are often substrate issues in disguise.
Start by identifying the wall finish. Matt, silk, eggshell and washable paints each behave differently. Some scrubbable and stain-resistant coatings are designed specifically to resist marking and contamination, which can also make them less receptive to adhesive media. If the wall has been cleaned recently, residues from detergents can reduce grip as well. A simple visual inspection is not enough. You need to know what has been applied to the wall, when it was painted and how it has been maintained.
Surface condition comes next. Painted walls must be clean, dry and sound. Dust, grease, polish residues and loose paint all create weak points. Hairline cracking, flaking and chalking are warnings that the issue is the wall itself, not the graphic. If the paint is unstable, removal later may take paint with it because the coating has already lost bond to the wall beneath. Clean removal begins with a stable surface.
Choosing the right media for painted wall graphics
This is where material choice changes the entire risk profile of the job. Traditional PVC wallcoverings and aggressive self-adhesive films can hold well, but they often introduce a different problem at end of life – residue, surface damage, long removal times and expensive redecoration. For commercial interiors that change frequently, that is not efficient.
A peel-and-stick fabric media is often the smarter route because it combines easier handling with cleaner removal and lower installation stress. Repositionability matters more than many buyers realise. On painted walls, especially across larger installs or multi-panel graphics, the ability to lift, realign and reapply without damaging the print or overworking the wall can save hours on site. It also reduces waste when fitting in live environments such as retail, exhibitions, hospitality and public venues.
Opacity matters too. If the wall colour is strong, or if you are covering an existing graphic or patchy paintwork, a blockout option will usually deliver a cleaner visual result. On smoother painted walls where overlap lines need to disappear, higher opacity can help create a more polished finish. On more demanding surfaces, such as lightly textured painted walls, an extra-strength adhesive version may be the better specification. The trade-off is simple: stronger bond can improve hold on difficult substrates, but substrate testing becomes even more important.
Preparing the wall before application
Good installation is mostly preparation done properly. Leave enough curing time after painting, following the paint manufacturer’s guidance rather than relying on assumptions. In real-world commercial programmes, this is often where schedules get compressed, and that is where problems begin.
Once the wall is fully cured, remove dust and contamination with a gentle, suitable cleaning method. Avoid saturating the wall. The goal is a dry, clean surface, not a damp one. If you are dealing with older painted walls in public-facing spaces, pay attention to invisible contamination around hand height, doorways and circulation routes where grease and contact build up over time.
Temperature also matters. Cold walls, damp rooms and unstable site conditions can affect initial tack and panel handling. If you are installing during a fit-out, check whether the building is actually at operating temperature. Applying graphics before the environment stabilises can create avoidable issues, particularly overnight.
Before the full install, run a test piece. This is standard practice, not an optional extra. A test confirms adhesion, removability and compatibility with the paint finish. It also gives confidence to the client and the installer. On heritage, gallery, childcare and premium interior projects, testing is often the difference between a straightforward approval and a costly delay.
Measuring, positioning and panel planning
Large wall graphics rarely fail because of print quality. They fail because planning was rushed. Mark your datum line carefully, especially if floors, ceilings or architectural details are not perfectly level. Painted walls in older buildings are notorious for this.
Panel planning should account for viewing distance, joins, texture and wall colour. If the media allows invisible overlaps, that can make installation faster and the final appearance cleaner. For branded interiors and exhibition graphics, that detail matters. A wall may only be seen for a few seconds, but poor panel alignment is noticed instantly.
If the graphic needs to wrap around corners, cover reveals or work around fixtures, decide in advance where relief cuts and joins will sit. Painted walls often look uniform until sockets, trims, signage rails or uneven plasterwork force last-minute decisions on site. Plan them before you start.
Applying the graphic
Offer the first panel to the wall with light control rather than full pressure. This is where repositionable fabric media has a real advantage. You can set the panel, check line and level, then smooth it down progressively. Work from the centre outward to release trapped air and keep tension even. On painted walls, there is no benefit in forcing the material aggressively. Controlled pressure is more effective and safer for the surface.
Continue panel by panel, checking alignment as you go rather than assuming the first section guarantees the rest. Walls move visually over distance. Minor irregularities can build into obvious drift on long runs. Repositionability helps here as well – lift, realign, apply again. Stick it. Peel it. Reposition it. Apply it right.
If you are installing across a textured painted wall, expect a slower process. Texture reduces contact area, so material specification matters more, and finishing pressure must be more deliberate. This is not always a problem, but it does mean smooth-wall methods do not automatically transfer to textured surfaces.
Removal and re-use are part of the specification
Anyone specifying interior wall graphics should think beyond installation day. Campaign graphics, seasonal branding, wayfinding updates and exhibition rotations all create end-of-life costs. If removal damages paint, leaves adhesive behind or turns into a labour-heavy strip-out, the original install was never as efficient as it looked.
That is why clean removability should be built into the specification from the start. A residue-free, peel-and-stick fabric graphic protects the painted surface while making future changeovers faster and cleaner. In many environments, that is not just convenient – it reduces downtime, avoids redecorating and supports a more sustainable lifecycle.
For teams managing multi-site rollouts or recurring visual merchandising updates, reusability can also change the economics. A graphic that can be removed, repositioned or reused where appropriate delivers more than wall coverage. It supports operational flexibility.
Common mistakes when applying graphics to painted walls
The biggest mistake is assuming all painted walls are the same. They are not. The second is skipping the cure-time check because the programme is tight. The third is choosing media on price alone, then absorbing the labour and remedial costs later.
Another common error is overhandling the install when the wall or room conditions are poor. If the substrate is cold, damp or contaminated, working harder with the squeegee will not fix the root issue. Nor will blaming the print. Specification, testing and preparation still decide the outcome.
Phototex has long proved that the smarter option for painted wall graphics is a material that installs easily, removes cleanly and protects the surface underneath. For professional users, that is not a marketing extra. It is the difference between a graphic that performs on site and one that creates work twice.
Painted walls can be one of the best surfaces for interior graphics when the substrate is stable, the media is matched properly and the installation is handled with care. Get those three elements right, and the job becomes faster to fit, safer to remove and far easier to repeat when the next campaign is ready.
 English
 French