
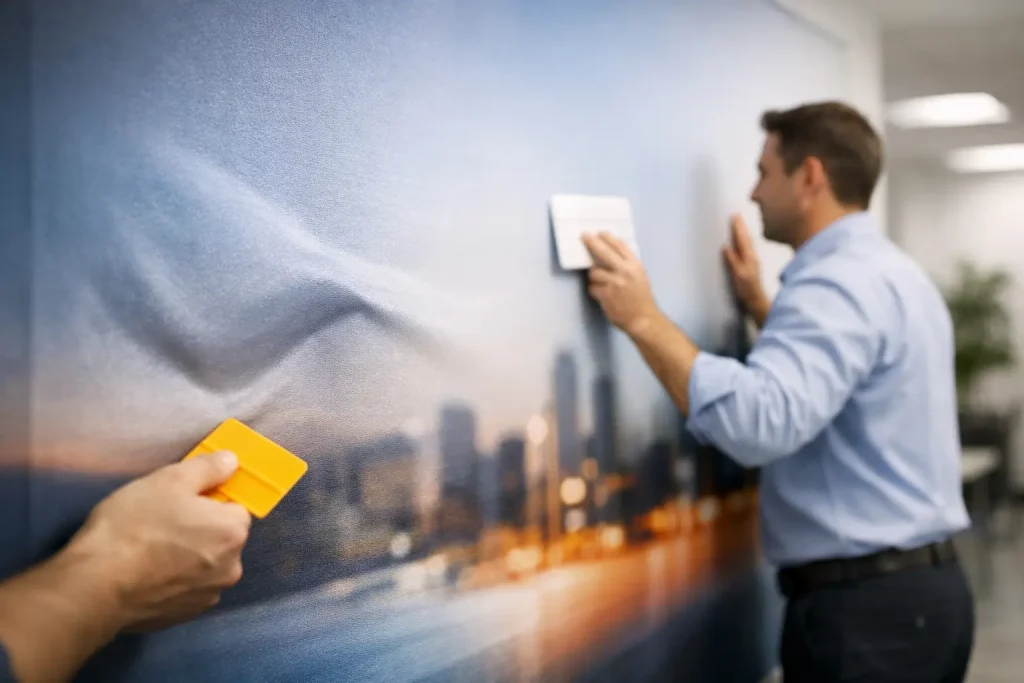
A bubble under a wall graphic is rarely just an installation issue. It is usually the visible result of a rushed surface check, trapped air, unsuitable material or an application method that does not suit the wall. Knowing how to prevent bubbles in fabric graphics protects the finish, reduces call-backs and keeps campaign changeovers moving at the pace your client expects.
For retail teams, exhibition contractors, print providers and fit-out specialists, the objective is not simply to get a graphic onto a wall. It is to achieve a smooth, professional result that can be removed cleanly, repositioned where needed and changed without leaving the surface behind for someone else to repair.
Start with the wall, not the graphic
Even high-performing self-adhesive fabric cannot disguise every substrate problem. Before installation, assess the wall for dust, grease, loose paint, uneven filler, dampness and surface texture. Each can interrupt adhesive contact or create a raised point that holds air beneath the graphic.
A wall may look clean but still carry residue from cleaning products, decorators’ dust or day-to-day use. Wipe the application area using an appropriate, non-oily cleaner, then allow it to dry fully. Avoid applying graphics to a damp wall or one that has only recently been painted. Fresh paint needs adequate curing time according to the paint manufacturer’s guidance. Applying too early can affect adhesion and may risk lifting paint during removal.
Texture also matters. A lightly textured, sound wall may be suitable for a fabric graphic designed to handle more demanding surfaces. Deep texture, flaky finishes and poorly bonded paint need a more careful test before committing to a full installation. A sample application is a fast, low-cost way to establish whether the material can make consistent contact across the substrate.
Choose fabric media that suits the surface
Not all wall graphic materials behave in the same way. Traditional PVC films can be unforgiving: once an edge folds, adhesive touches itself or air becomes trapped, correction can take time and create waste. A quality peel-and-stick fabric gives installers more control because it can be lifted, repositioned and reapplied without turning a simple adjustment into a replacement job.
Phototex is designed around this practical advantage. Its woven polyester construction supports a clean, fabric-like finish while allowing the graphic to be repositioned repeatedly during installation. For standard smooth wall applications, the appropriate product choice will differ from a high-opacity overlap requirement or a heavily textured wall, floor or more demanding installation. Matching the media to the job at the specification stage is one of the most reliable ways to prevent avoidable bubbles later.
Opacity is also a consideration. Where panels overlap, show-through from the wall or underlying image can be mistaken for trapped air or a poor finish. A blockout fabric option can create invisible overlaps, improving continuity across large murals, displays and campaign graphics.
How to prevent bubbles in fabric graphics during application
The best application method is controlled, gradual and easy to correct. Do not expose the entire adhesive area and attempt to place a large panel in one movement. Instead, position the graphic accurately, secure the top edge, then remove the release liner progressively while applying from the centre outwards.
Use firm, even pressure with a suitable applicator or a clean hand where appropriate. The aim is to establish contact in a deliberate line, pushing air towards the open edges rather than enclosing it beneath the fabric. Work in manageable sections, particularly on wide panels, tall wallcoverings or graphics installed above display furniture.
If a bubble appears, resist the temptation to puncture it immediately. With repositionable fabric, the better response is normally to lift the affected section back to the point before the air was enclosed, then reapply it using steady pressure. Puncturing can leave a visible mark, admit dirt and compromise the finish. It should not be the standard fix for a material that is designed to be lifted and repositioned.
Keep the panel under light tension, but do not stretch it. Pulling too hard can distort printed artwork, create uneven edge alignment and make the fabric eager to relax after application. That relaxation can produce ripples or local lifting which is often described as bubbling. Let the material lie naturally as you apply it.
Keep liner removal under control
Release liner is not waste to remove as quickly as possible. It is a control tool. Peeling back only the section being applied keeps the adhesive protected from dust and prevents the panel from falling onto itself or catching on nearby fixtures.
For larger installations, two installers are usually more efficient than one. One person can hold alignment and maintain a light, even tension while the other manages liner removal and applies the fabric. This is not about adding labour unnecessarily. It reduces the risk of creases, contamination and rework on graphics that are costly to reprint or difficult to access once a venue is live.
Work with the room conditions
Temperature and humidity influence both the wall and the material. Very cold conditions can make installation less comfortable and may reduce immediate adhesive grab. Excessive heat can make a room difficult to work in and may affect a wall surface that has been exposed to direct sunlight. Install within sensible indoor conditions, allow printed panels to acclimatise in the space, and avoid placing graphics onto walls affected by condensation.
This matters in exhibitions, hospitality venues and retail environments where installation often happens outside normal operating hours. A cold loading bay, an unheated gallery or a freshly cleaned shop floor can create conditions very different from those present when the project was specified.
Let the print dry and stabilise
A graphic can look ready when it leaves the printer but still benefit from sufficient drying and outgassing time before application. This is particularly relevant for ink systems, high ink coverage and dark solid areas. Applying material before the print has stabilised can make handling more difficult and may contribute to an inconsistent finish.
Follow the ink, printer and media guidance for drying, curing and profile use. Correct ICC profiles help deliver the intended colour while controlling ink load, which supports a stable print surface. Over-inking is not a shortcut to richer colour if it creates handling issues or undermines production consistency.
Store finished panels flat, clean and protected until installation. Avoid rolling them too tightly, creasing corners or leaving adhesive edges exposed. Good finishing discipline prevents small handling defects becoming visible defects on the wall.
Diagnose bubbles before deciding on a remedy
Not every raised area has the same cause. A small, isolated air pocket often points to application technique. A line of bubbles following a join may indicate panel alignment, insufficient pressure at the overlap or a raised wall feature. Broad rippling can suggest stretching, temperature change or an uneven substrate.
If bubbles reappear after a panel has been smoothed down, check the wall rather than repeatedly forcing the graphic into place. Dust, silicone contamination, dampness and failing paint cannot be solved by more pressure. Lift the fabric carefully, address the underlying condition if possible, then reapply. The ability to remove and reposition a graphic without residue is valuable here: it lets installers correct the real problem instead of hiding it.
Edges deserve the same attention. Press them down cleanly, especially around corners, reveals, sockets and architectural details. Do not force fabric into sharp, damaged or unstable areas where the wall itself may fail. A neat trim and a sound application line will outperform an overworked edge every time.
Plan for clean changeovers, not just first installation
The most effective way to prevent bubbles is to treat wall graphics as a repeatable system rather than a one-off fitting task. Record the substrate, room conditions, chosen media, print settings and application method for recurring sites. This gives teams a dependable reference when rolling out campaigns across stores, venues or exhibition spaces.
Fabric graphics offer a practical advantage for organisations that refresh messaging regularly. A panel that can be peeled away cleanly, repositioned during installation and removed without residue reduces downtime, limits redecorating and helps protect valuable surfaces. That is a better operational outcome than a graphic that looks acceptable on day one but creates damage, waste or labour costs at the next changeover.
A smooth finish begins with patient preparation and continues with a material that gives installers room to work. Check the wall, control the liner, apply steadily from the centre out and lift to correct rather than forcing air into submission. Stick it, peel it, reposition it and keep the surface ready for what comes next.
 English
 French